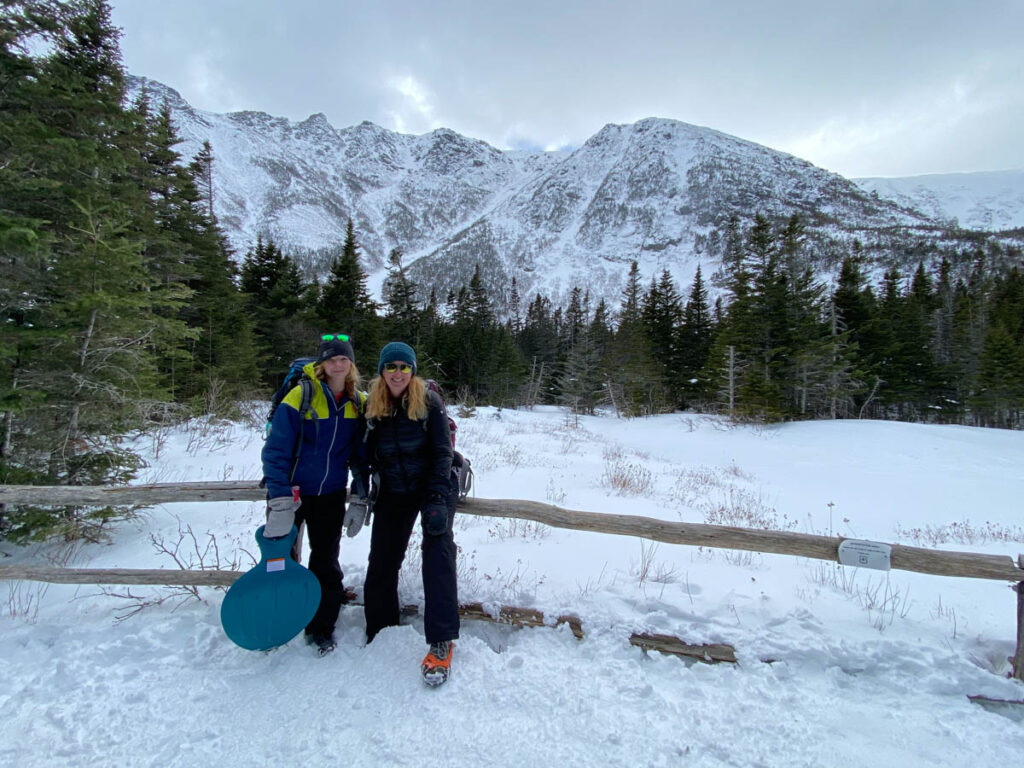
Imagine snow covered mountains, crisp air and no crowds – this is the magic of winter hiking. Winter is my favorite time of year to hike and this guide was created to get you out on the winter hiking trail. While winter hiking is amazing there are some additional considerations to keep yourself safe and happy on the trail. Below you can find 15 tips for winter hiking for beginners including how to dress for hiking in cold weather.
If you are a beginner hiker I suggest starting with this guide: hiking for beginners or you can visit our hiking section for more about what to pack, finding trails and more.
While winter hiking might feel exclusive and only for the experts, there is room for everyone outdoors and everyone was a beginner at some point. Use this guide to help get out on the trail in the best season of the year.
Some of the links on this page may be affiliate links meaning I get a small commission if you make a purchase through one of these links that helps to support this site.
15 Tips for Successful Winter Hiking for Beginners
Below is a quick look at 15 things to know about winter hiking. You can scroll down to read more details about each tip and to learn more about winter hiking. Don’t let this list intimidate you or keep you off the trail – start small and build your skills as you go!
- Dress in Layers
- Bring the Right Footwear
- Stay Dry and Stay Warm
- Check the Weather
- Pack for Winter Hiking
- Pack Extra Food and Water
- Start with a Short and Easy Winter Hiking Trail
- Know Basic Navigation
- Prepare for the Unexpected
- Create a Hiking Plan
- Bring a Fully Charged Phone
- Understand Basic First Aid
- Hike with a Friend
- Pace Yourself
- Start your Winter Hike Early

Essential Tips for Winter Hiking for Beginners
Dress in Layers
What you wear is incredibly important when you winter hike. It is important to dress in layers that can be taken on and off to ensure that you stay warm and comfortable throughout the hike. For beginner hikers, the gear is often a limiting factor as it can be expensive to purchase high end hiking gear. While we feel strongly that the right gear will keep you safe, don’t let expensive gear stop you, especially since you will starting with small hikes.
The most important element is to avoid hiking in cotton material, especially next to your skin as this will keep you wet and cold. Start by investing in a good base layer that is non-cotton, and build your winter hiking gear over time from here. Below is a list of how to dress for hiking in cold weather with links to some of the gear you should pack.
Hiking Socks: Hiking socks will keep your feet dry and warm. I like to pack a back up pair of socks in my pack in case I step in water. A good pair of winter hiking socks will be medium to heavy weight and be well above the ankle.
Hiking Base Layer: A good base layer will keep you dry even if you sweat. You can either wear a complete long underwear set, or get base layer pants and a hiking shirt. This is a good place to invest money as this will be what is directly against your skin.
Warm Top Layers: Depending on the weather, you will want at least one and maybe more warm upper layers. This should include fleece layers or synthetic down that can be layered underneath your outer layer. Always pack at least one more layer than you think you’ll need.
Warm, Waterproof, and Wind Blocking Outerwear: A good outer layer is important to keep you warm, especially in poor weather and wind. I prefer soft-shell pants.
In addition to these clothing layers, make sure to pack:
- A warm hat
- Neck Gator
- Gloves/Mittens

Bring the Right Footwear
Choosing the right footwear not only keeps you comfortable, but allows you to actually get traction when hiking in the winter. The conditions, snowfall, and type of hike will dictate the right footwear for your hike. Start with a good pair of winter hiking boots. You want to look for waterproof boots that come up above the foot to give you some ankle support. Shop hiking shoes.
It is possible to hike in snow boots as well but you won’t get the ankle support and they tend to be harder to walk in. When you are deciding between snow boots vs hiking boots, choose what works best for comfort and safety.
The next important footwear item is a pair of microspikes, crampons or snowshoes. You can read more about selecting the right snow traction here. Snowshoes are a great choice if you will be hiking through fresh snow, otherwise you will probably want a good pair of microspikes to get traction on snow and ice.
The final item that you should consider is a pair of gators. These attach to the lower leg and hiking boot and keep snow from getting into your boots. Shop Gators.
Stay Dry and Stay Warm
When hiking in cold weather, temperatures can change quickly and as soon as you stop moving the your core temperature will drop. Once you get cold, it is much harder to warm back up. The key is to stay warm, avoid sweating and anticipate when you should put on a layer. Here are a few things to remember to stay warm and dry:
- If you start to sweat, take off a layer or slow down
- Add a layer before you move into a windy area, onto a summit or start to descend
- Keep waterproof layers on if it starts to precipitate
- If you get cold, don’t stop moving except to hydrate or have a snack
Check the Weather
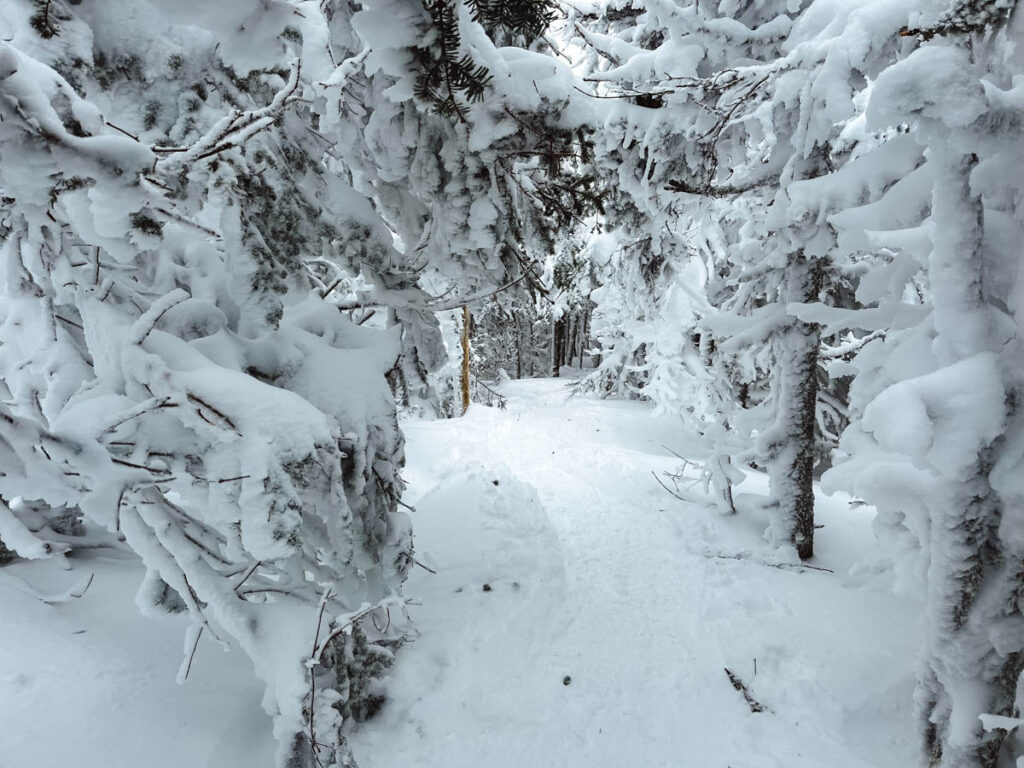
Before you head out on the trail it is important to check the weather. Remember that the weather can change dramatically during the day and as you change elevation. A forecast for the valley may be very different than a forecast for a mount peak, especially when it’s windy. Be cautious of windy conditions that will drop the temperature, and snowy weather that can obscure a hiking trail and make navigation difficult.
Since we live in New Hampshire, we do a lot of our winter hiking in the White Mountains. We always check the mountain forecast before going and read the recent trail reviews on All Trails to get a sense of the most recent conditions. It’s always best to play it safe – save the hike for another day, choose a different route, or turn around if the conditions aren’t right.
Prepare for the Unexpected
When you are hiking in the summer, unexpected circumstances don’t always lead to potentially dangerous situations. When you hike in the winter, a rolled ankle or a frozen water bottle can suddenly pose a major problem. You should always pack and plan for winter hiking as if an emergency will keep you on the trail longer than expected. Imagine that you will need to spend the night on the trail: what will you need to do to ensure that you stay warm or you can see the trail in the dark?
If you want to learn more winter survival skills, consider taking a winter hiking course like this one through REI.
Pack for Winter Hiking
The essentials for winter hiking are similar to day hiking. Like described in the section above, you should always pack your bag as if you will need to spend more time on the trail. In addition to the clothing and the footwear described above, you should also pack:
- Headlamp
- Paper map/Compass
- First aid kit
- Repair kit
- Backpack
- Small knife
- Emergency kit (whistle, firestarter)
- Emergency Blanket/bivy sack
- Sunglasses and sunscreen
Optional depend on your hike:
- Sleeping bag
- Stove
- Hiking Poles
- Ice Ax
- Goggles
- Avalanche Equipment
You can see a guide to a day hiking packing list.

Pack Extra Food and Water
Food and water are also very important when winter hiking. Since it can be cold to stop and take your hands out of mittens, choose food that is easy to eat and packed full of calories: granola bars, sandwiches, cheese, chocolate, nuts, and fruit all make good snacks on the trail. Take more food than you plan to eat on the trail in case you need to be out on the trail longer than expected. It’s also important to eat before you feel cold and hungry as food will help your body stay warm and full of energy.
Water is equally important and it’s often hard to remember to drink when you are out on the trail. Pack more than one water bottle and remember that your water may freeze on the trail. Keep your water inside your pack and avoid bottle and hydration systems with narrow opening and tubing that is likely to freeze in the cold. You can buy insulators for your bottles or put a sock around the water bottle.
Start with a Short and Easy Winter Hiking Trail
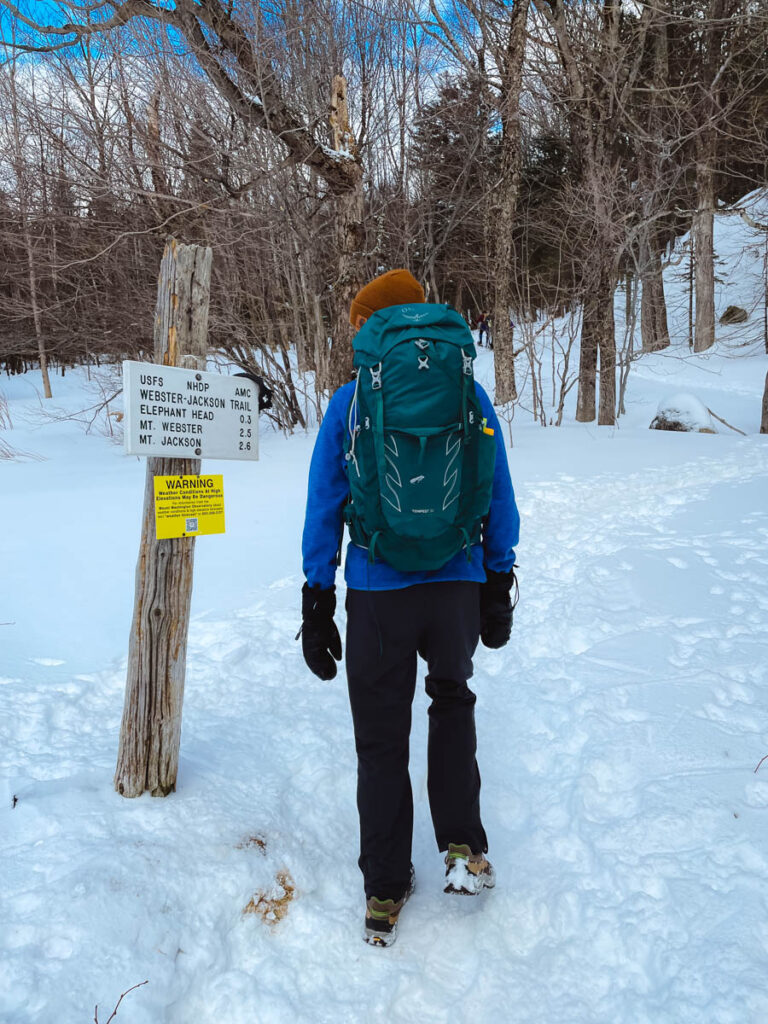
Don’t start your winter hiking career by summiting a huge mountain! Work out the kinks by choosing a winter hike that is easy and close to your home. This way you can test out your equipment and get used to walking in the winter conditions before you are committed to a longer hike.
After tackling something local, choose a more moderate hike but continue to avoid high mountain summits – try hiking in a variety of weather conditions to get a sense of what is too much and how you should adjust your layers.
After you’ve built up some experience and have the gear that works best for you, you can continue to try more difficult hikes. It is very easy to underestimate the mountains in the winter, so take it slow and stay safe. Think about the furthest point on your hike and know how far away from help you’ll be if you need it.
Know Basic Navigation
It’s possible to get lost on a hiking trail at any time of year, but when you’re winter hiking getting off trail can have a bigger consequence. Often winter hiking trail conditions means that you are followed a well tracked hiking trail, however as soon as you reach a wind stricken area, or get a new dusting of snow, or find a place where animal paths have obscured the trail suddenly the snow all looks the same.
It’s important to be able to read and understand a topographic map, understand how to use a compass, and pay attention to the trail markers. Cell phones are a great tool and the online maps are also great, but especially when it’s cold having a paper map is a good safety measure.
You can find mountain navigation courses online or at your local outdoor center.
Create a Hiking Plan
Creating a solid hiking plan helps you avoid mistakes. This plan should include where you plan to hike, what time you plan to leave, when you expect to return, and when your emergency person should take action. This plan should be left with someone you trust – a parent, friend, spouse, etc. Make sure your person knows how to contact you or whether you will be outside cell service. Since temperatures drop quickly in the winter, it’s important to know what to expect and when help is on the way as soon as possible.
As soon as you can after finishing your hike, check in with your person and let them know your status. You can also leave a copy of your hiking plan on the windshield of your car.
You can find a hiking planner on our Etsy Store or you can create your own and leave notes for your emergency person.

Bring a Fully Charged Phone and/or a Locator Beacon
While you can’t always count on a cell phone (especially when the cold zaps your battery) having a way to contact someone in an emergency can make a huge different. A cell phone is a useful tool and in addition to possibly being able to make a phone call, you can also use the light (in addition to your headlamp), take photos, download a map for navigation and more. You should never count on a cell phone and assume you will be able to get cell service on the hike or even at the trailhead.
If you want a more reliable emergency you can get a personal locator beacon. This GPS device lets you send emergency information to family or call for help if needed. This is an expensive item for hiking but can be helpful when winter hiking especially if you plan to do longer trips into the backcountry.
Understand Basic First Aid
Bringing along a first aid kit is a great idea, but if you don’t know how to use it, it won’t be much help. Even a basic first aid course will give you confidence to handle situations. Even better, consider a wilderness first aid class. These courses teach you how to handle situations in the backcountry, how to stabilize broken bones, when you should move someone and when you should go for help. You can find this course at Solo.
We recently had to evacuate my son during a winter cross country skiing trip after a knee injury. Both my husband and I have wilderness first aid training and made the decision to stabilize the knee, stop the bleeding, and carry him out before ski patrol could get to us. Knowing what to do in this situation gave us confidence and we were able to remain calm and make safe decisions.
Hike with a Friend
Most of the mountain rescues that occur during the winter happen to solo hikers. Hiking with a friend is one of the best ways you can avoid problems. Having a hiking companion means that one of you is likely to be more cautious. You can also assess each others conditions and note when the other person gets cold or stops talking. In addition, if there is a problem, you and your friend can decide together how to proceed. In some situations, one person may choose to hike out for help, or help carry gear so the other person has less weight on a rolled ankle.
The other reason you should hike with a friend is that it’s more fun! If you don’t know anyone locally who is interested in winter hiking, ask at your local outdoor gear store, or look online for a hiking group.

Pace Yourself
One of the best pieces of advice when you’re learning about winter hiking for beginners is to learn to pace yourself. This is one of the reasons you should start small and local. Knowing how long a hike will take and when you are getting tired will help you stay aware and safe on the trail.
Hiking can be hard work, but knowing when your legs are tired, versus when your legs can’t hike anymore is very important and the only way to know this is by gaining winter hiking experience.
Start your Winter Hike Early
While it’s tempting to wait for the temperature to get warmer later in the day before heading out on the hiking trail, it is important to start your winter hike early in the day. Having sufficient daylight to complete the hike AND giving yourself extra time in case something goes wrong can make a big difference.
Once the sun goes down in the winter, the temperatures drop quickly so you should plan to finish your hike with plenty of daylight left. Always check the time of sunset and remember to bring a headlamp.
Best Places to Find Winter Hiking Trails
Once you’ve read through the tips below and gained some of the skills and know-how for winter hiking the next step is to find the best trail for winter hiking. Remember that not every summer hiking trail makes for a good winter hike. In particular, you should avoid hiking trails that have steep drop offs and exposure during the winter.
Start your search for winter hiking trails by looking locally – find nearby parks with hiking trails. You can usually find local hiking guides or use the All Trails site. All Trails is a great starting point but there are often mistakes on the trails so make sure you use this as a starting point. I also like to read the reviews on All Trails – if there are no reviews during the winter this may not be a good winter hiking trail.
You can see our complete guide on finding hiking trails here. If you live in New England, you can also see the Best Winter Hikes in the White Mountains.
Leave No Trace: always practice leave no trace whether you are hiking in the summer or the winter. Pack out your trash, stay on the trail and respect the local guidelines.

Special Circumstances When Winter Hiking
Below you can see a few special circumstances for winter hiking or scroll down for some common questions about winter hiking for beginners.
Winter Hiking with Kids
We love to winter hike with our kids! Depending on the age and experience of your kids, you can easily and safely take your kids out on the trail. Keep in mind that you may need to carry the gear of younger hikers and remind kids to take on and off layers and eat food while on the trail. If you are hiking solo with a young person, also think through what will happen if you suffer an injury.
Hiking with Dogs in the Winter
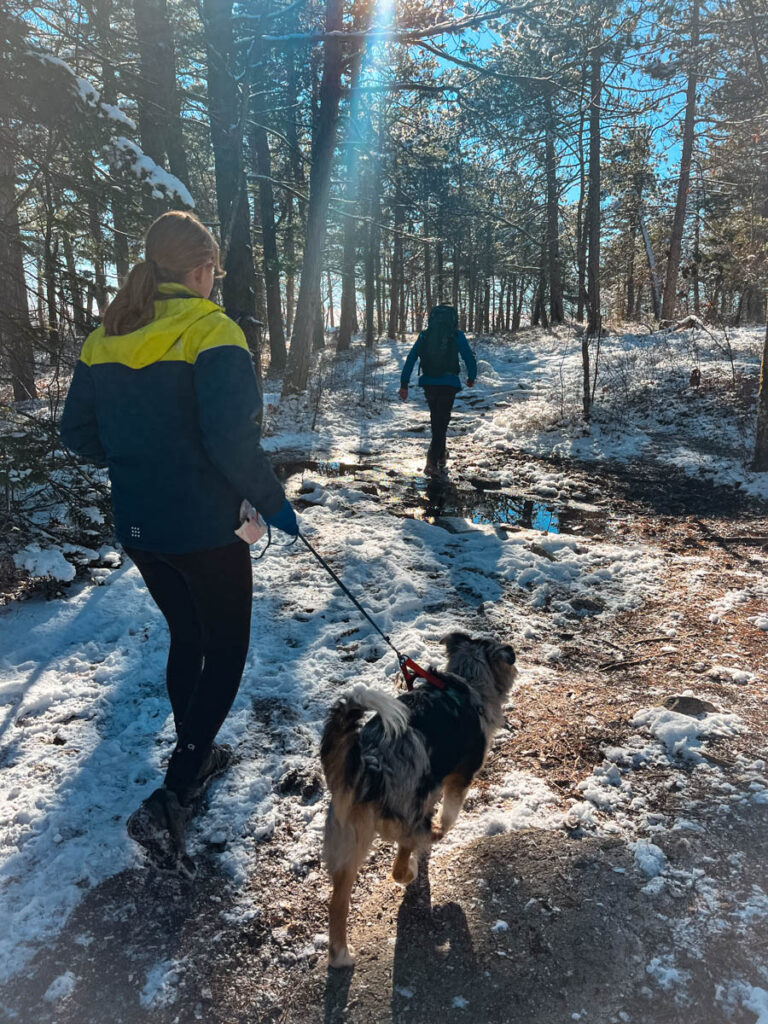
In general dogs are great companions when winter hiking. The biggest obstacle is keeping your dogs feet warm and safe on the trail. Icy conditions can often cut paws and snow can clump on paws making it hard for your dog to walk. You can buy booties for dogs or apply a wax to protect the paws. You may also want to consider a coat for cold conditions, an extra emergency blanket, and food for your dog. Keeping your dog on a leash can help avoid dangerous situations.
Before heading off with your dog on a long winter hike, practice with the gear locally and easy.
Hiking in Mountains Where Avalanches are Likely
You can hike in the winter for years, and never come across an Avalanche prone area. The first step in Avalanche safety is to know when you are in an area where avalanches are frequent or possible. Researching your hiking trail in advance will help you know what to expect.
Avalanches typically occur on steep slopes above tree level. This doesn’t mean that you can’t have an avalanche in the trees or in a less steep area but its not as likely. If you are spending time above tree level on large mountains, you may want to consider getting avalanche training. You can often find local classes, or search here for courses.
Hiking Near Frozen Water
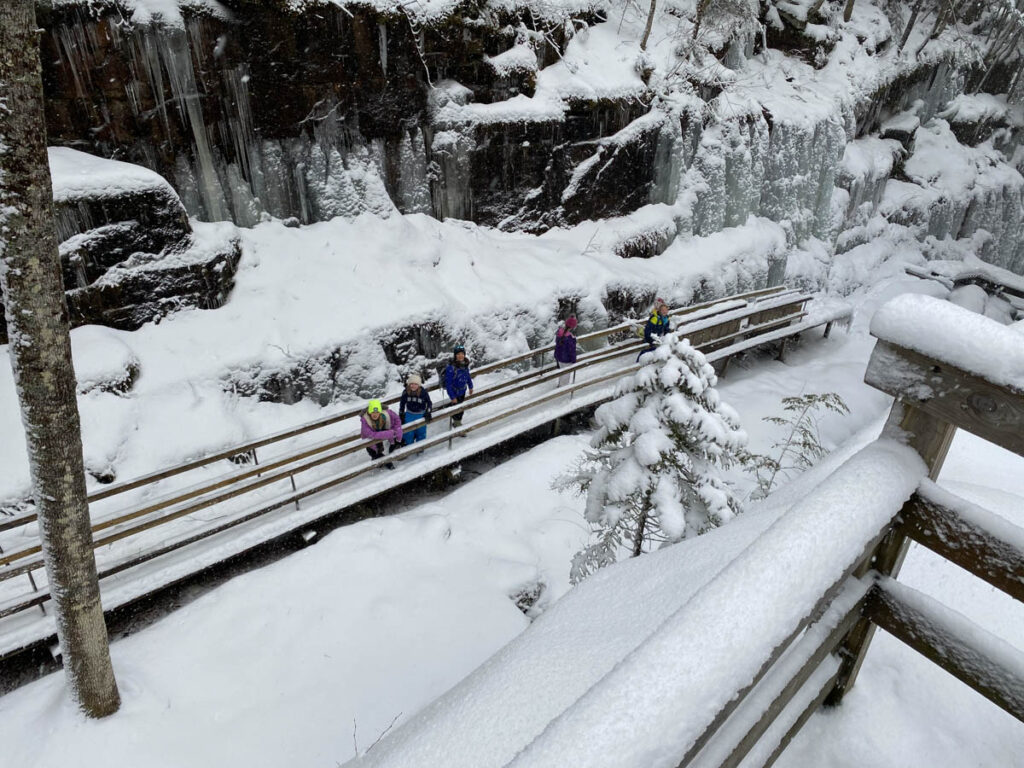
Many hiking trails involve crossing a river or stream. Always use extra caution and places that look frozen aren’t always able to hold your weight, especially if the water is moving underneath. Avoid unstable crossings whenever possible and watch dogs and kids near these areas.
Summary of Winter Hiking for Beginners
Learning to winter hike doesn’t need to be overwhelming. With a little knowledge and some planning you can soon be out enjoying a snowy winter trail. These basic tips for winter hiking for beginners will help you get started to enjoy the outdoors even in the snow. We hope you enjoy winter hiking as much as we do!!
Common Questions about Winter Hiking for Beginners
Do you have a question about winter hiking? Leave a comment below and I will continue to update this section to help answer any questions.
What is the Difference Between Snowshoeing vs Hiking?
Snowshoeing a form of hiking that involves wearing snowshoes on the trail. You can snowshoe on most hiking trails and they are a good choice when a fresh layer of snow makes the trail difficult to break. Snowshoeing takes a bit more energy and will be slower than simply hiking so give yourself additional time on the trail. You can see some recommendations for the best snowshoes here.
How do you go to the Bathroom When Winter Hiking?
This is a common question and one that might actually keep you off the trail! Going to the bathroom in the winter doesn’t need to be hard, but it can be a bit cold and complicated! If you are just going pee, you can simply walk off the trail and go. Often the snow isn’t broken and is deep off the trail so it can be difficult to get far off the trail. If you need to go #2, you will want to dig as deep a hole as possible and bury you waste. This doesn’t always work so it is best to find an outhouse or bag up your waste.
Remember that removing layers can be difficult, take time and make you extra cold on the trail – always try to go before you start your hike to avoid having to go on the trail. At the same time, don’t limit your water consumption just to avoid going to the bathroom on the trail.
Use snow as toilet paper to limit your trash.
Is learning winter hiking for beginners worth it?
Yes! Winter hiking is a wonderful activity and doesn’t need to be overwhelming and scary. Use the winter hiking for beginners tips above to help you get started!
