 Gretchen Stuppy Carlson
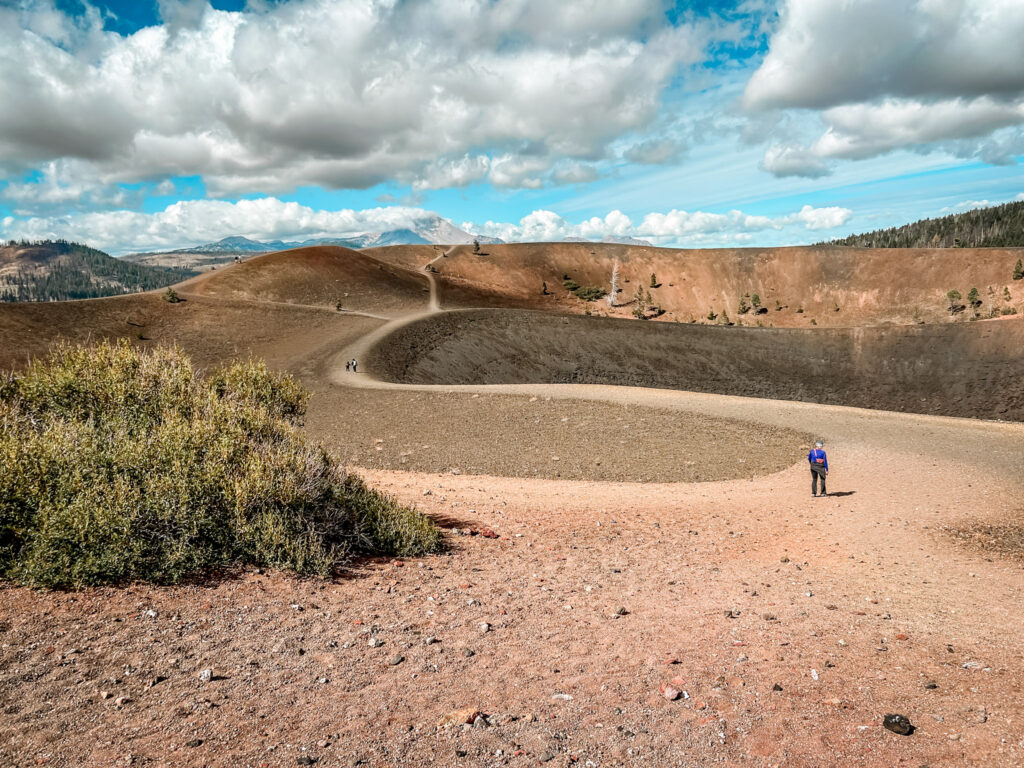
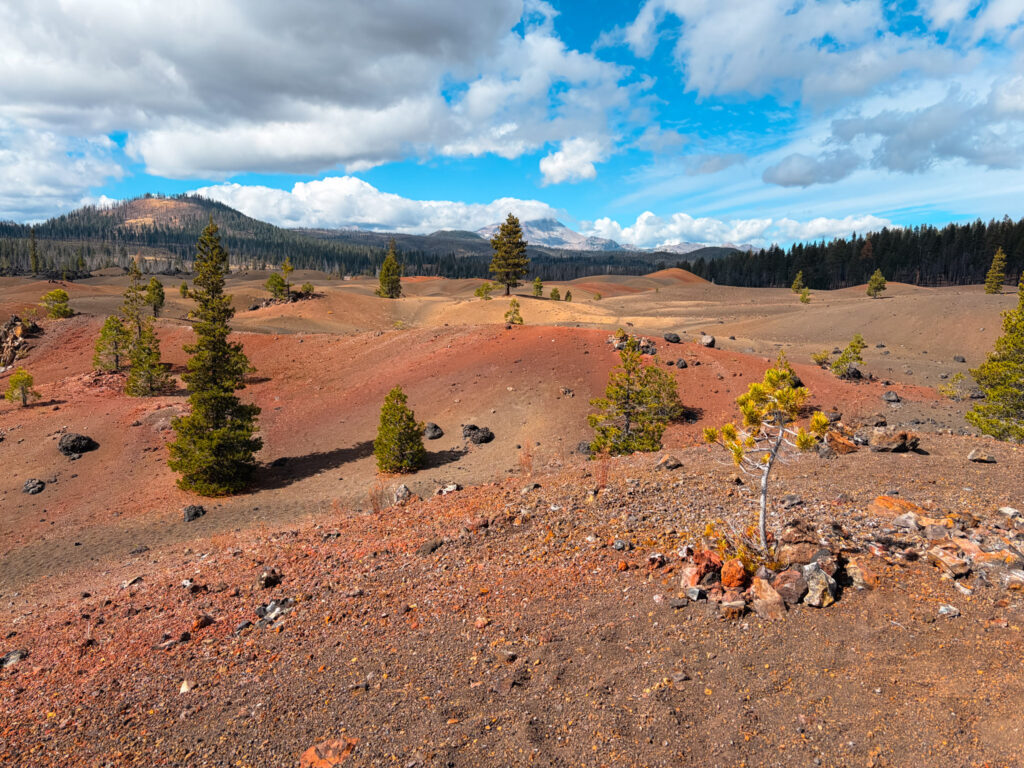
Located in a more remote part of Lassen Volcanic National Park in the far northeast corner, the Cinder Cone Trail is a must-do hike in the park. We almost skipped it due to timing and we are so glad we made the drive. If you have more than one day in the park I highly recommend this hike. You will get views of not only the cinder cone but also the Painted Dunes and Lassen Peak in the background.
Below you can see exactly how to hike the Cinder Cone Trail. If you are looking for more incredible things to do in Lassen Volcanic, make sure to check out Bumbpass Hell and Lassen Peak or check out all my guides to Lassen Volcanic.
Our National Parks are full of epic hikes, sweeping vistas, and amazing ecosystems.  If you like our parks, you'll love our National Parks Journal Newsletter or you can explore exactly how we plan a National Parks Trip.

Want downloadable itinerary, video guides and more?  Join the Club.
Quick Look at the Cinder Cone Trail
Distance: 4 miles (although you can add more)
Elevation Gain: 850 feet
Difficulty: Hard
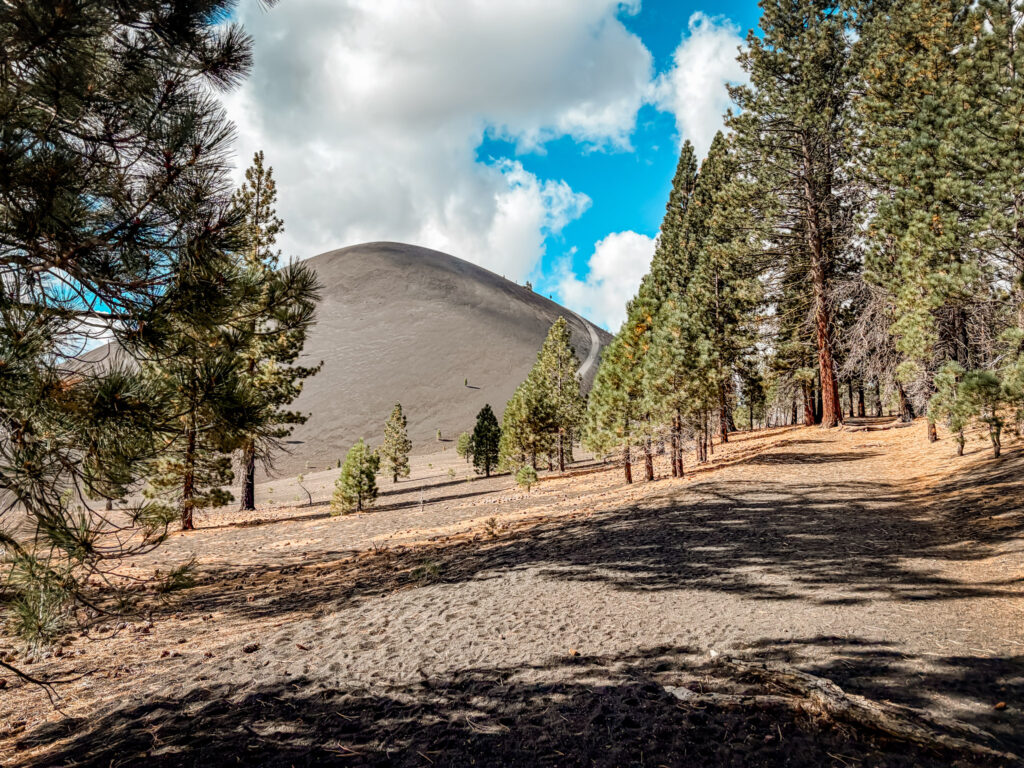
The trail begins for just over a mile of a flat and easy walk alongside a lava field. Once you reach the cinder cone, the trail climbs steeply up the moving cinder, making it a harder walk then you might expect. The summit has several trails that go around and into the cone. You can either retrace your steps down or go down the backside where you’ll get views of the Painted Dunes and can loop back along the same trail.
Map of the Cinder Cone Hike
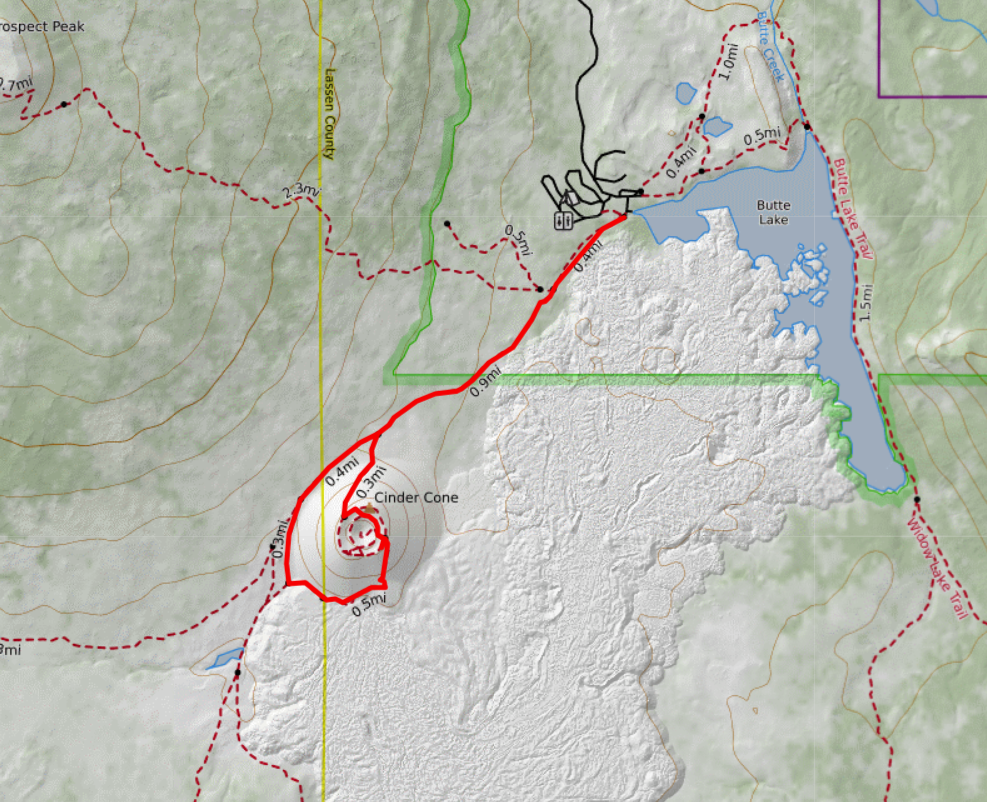
Need to Know: Cinder Cone Hike
Getting There: The trailhead to the Cinder Cone Trail is in the northeastern section of Lassen Volcanic National Park. The trail to the start of the hike id down a 6 mile unpaved road right on highway 44. This area is separate from the park’s main scenic highway, so allow extra driving time.
Parking: There is a parking area at Butte Lake, but it can fill up on busy summer weekends. Arrive early, especially on holidays. There is extra parking down the road if needed.
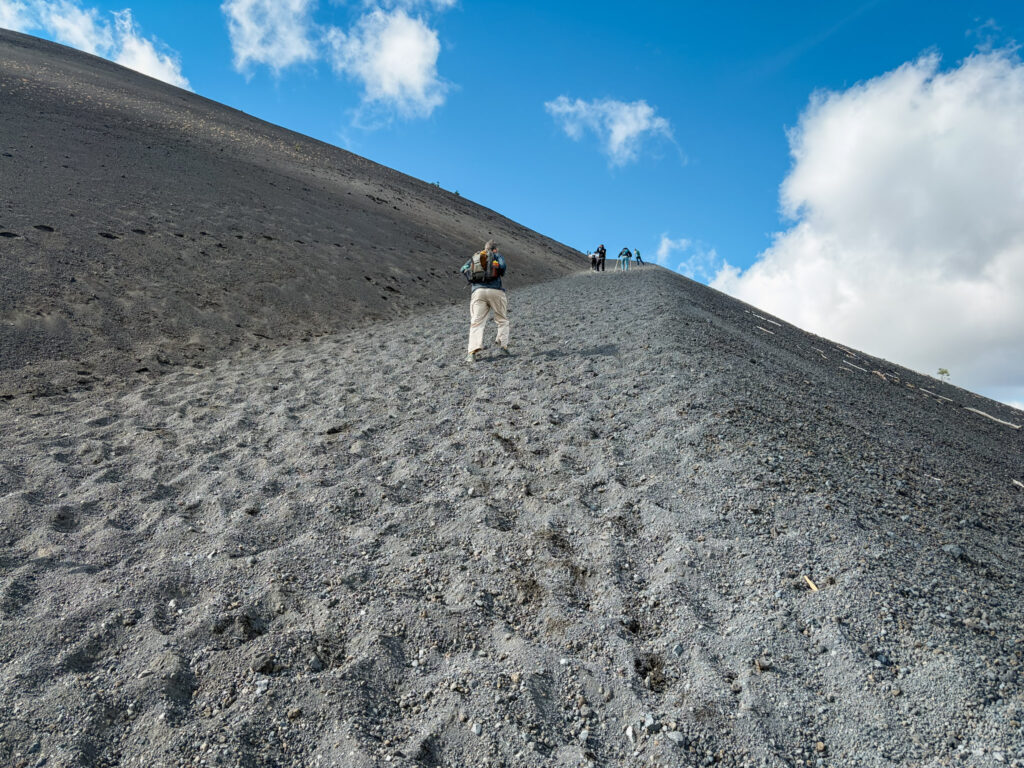
Trail Conditions: The first mile is relatively flat and easy, but the climb up Cinder Cone is steep and covered in loose volcanic cinders.
What to Wear: Wear sturdy hiking shoes with good traction. You will get volcanic gravel can easily get into low-cut shoes, so gaiters can also be helpful. Trekking poles are useful on the steep descent.
Weather: Much of the hike is exposed, especially on the cone itself. Bring plenty of water, sun protection, and an extra layer for windy conditions at the summit. Even in early September it was cold and windy at the summit.
Best Time to Hike: Summer through early fall generally offers the best conditions. Snow can linger into early summer, and the access road may be closed seasonally. Check the NPS before you go.
Facilities: Restrooms are available near the Butte Lake trailhead, but there are no services or water sources along the hike. Bring everything you need for the hike and pack it out.
Details of the Cinder Cone Trail
The Cinder Cone trail starts righ at Butte Lake and follows the western side of the lava field on a flat and easy hiking trail. Dave and I arrived around 9 am on Labor Day Weekend and the lot was crowded but not full. When we left a bit later, people were parking far down the road.
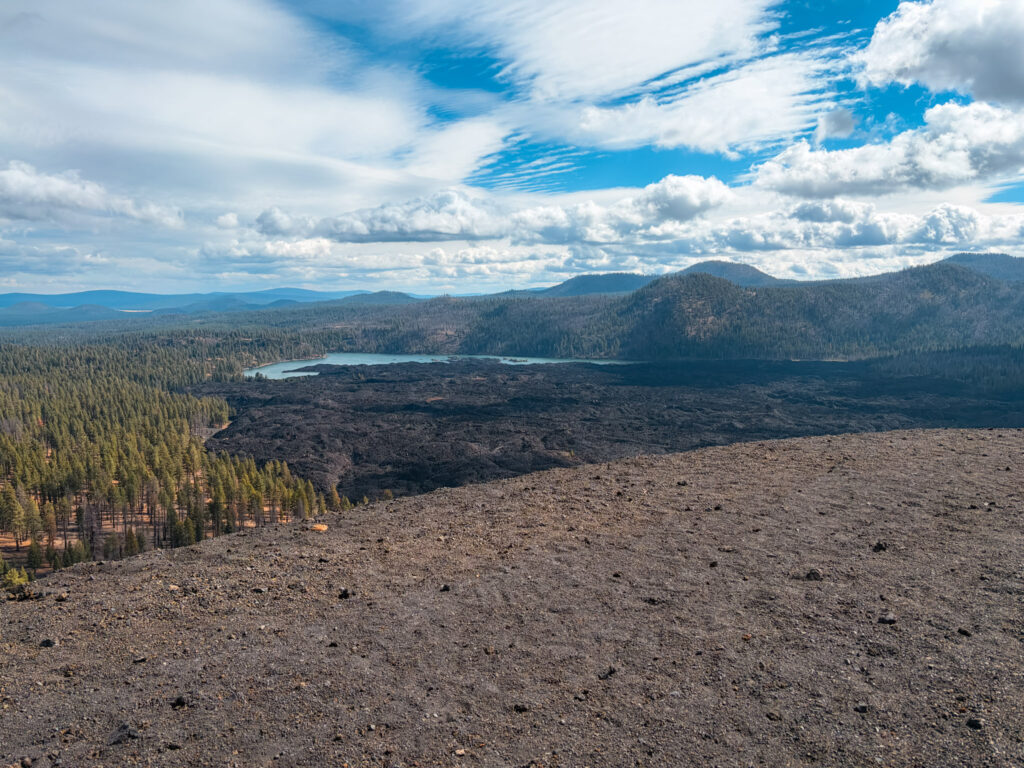
The trail follows the lava field, but it is hard to see it from the trail besides just a large pile of black rocks alongside the path. You will see the Cinder Cone long before you get it as it rises up above everything around it.
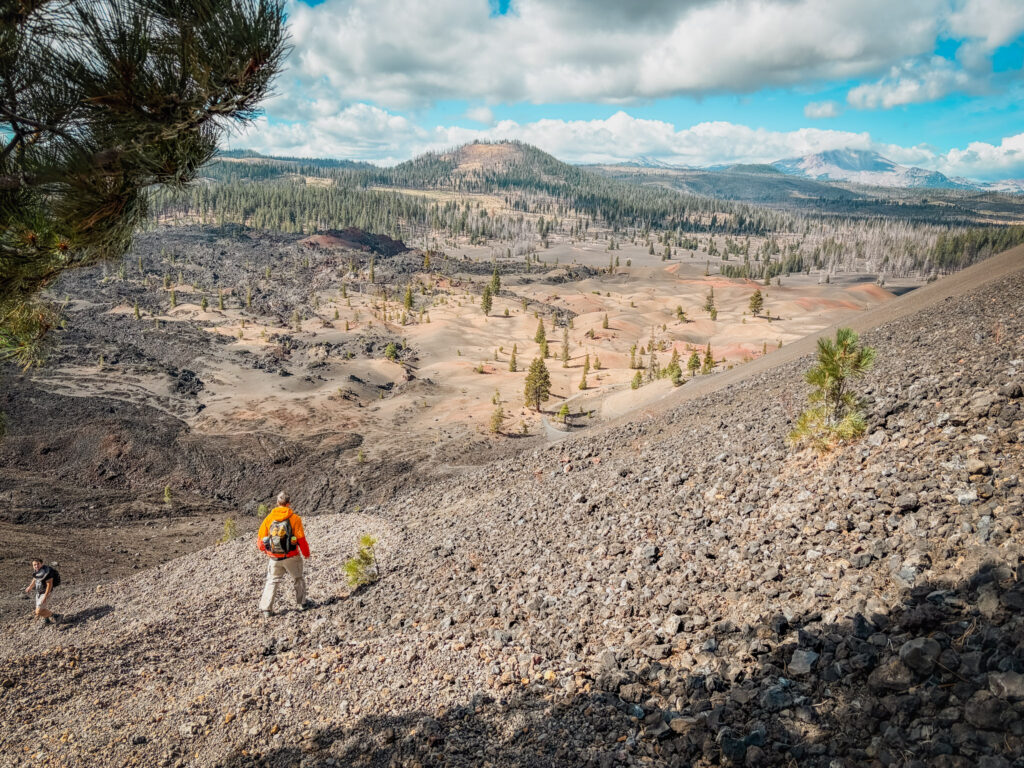
The trail goes up the side of the Cinder Cone on the front side at a steady and steep ascent. The trail goes up the loose sand like cinder with small rocks and every step up expect to slide back down. The day we hiked was windy and we weren’t only sliding but also getting whipped with some sand.
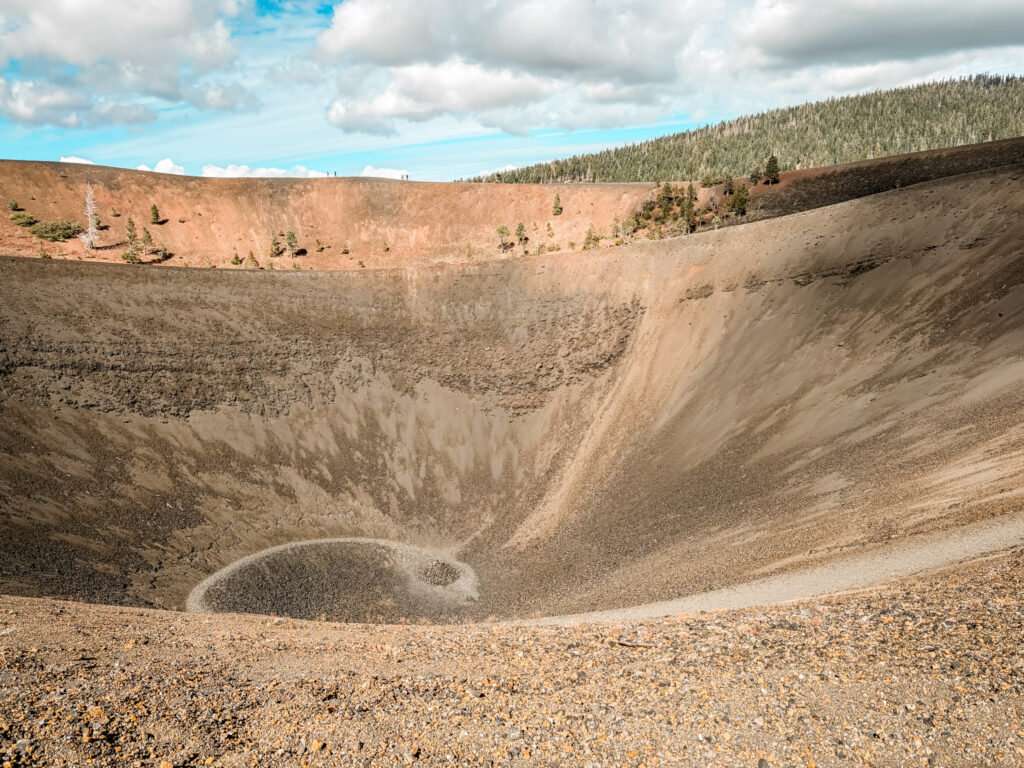
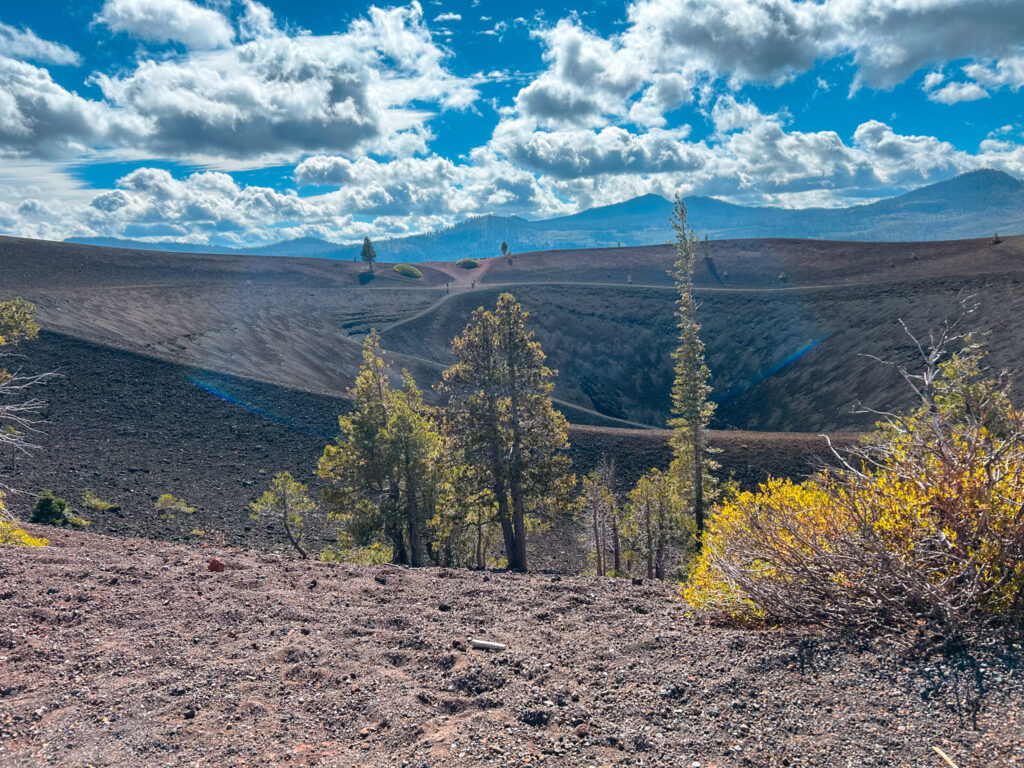
The trail ends at the rim of the cinder cone and you can see down into the cone itself. From here you can follow any trail you like into the cone or around the rim. Make sure to visit the high point on the left. The trail descends from just past here even more steeply downhill giving you views of the Painted Dune – a series of colorful smaller hills. The trail reaches the bottom and winds between the dunes before returning back to the trail you came in on.