Natural light can make or break a photo, and understanding how to harness it at different times of the day is key to capturing stunning images. Golden Hour and Blue Hour are two of the most coveted times for photographers, thanks to the soft, flattering light they provide.
This post is part of a series of posts about how to take better travel photos on your vacation.
You can see more about Travel Photography in these articles:
- Composition Techniques for Stunning Travel Photos
- Why Your Smart Phone is the Best Travel Camera
- Travel Photography Courses
- How to Take Better Travel Photos
I’ve spent decades exploring family adventures, epic hikes, and National Parks across the world. For more inspiration, check out my National Parks Page or see some of my favorite destinations to plan your next adventure and make sure to join my weekly newsletter.
It’s Time to Level up Your Travel Photography
Want to improve your travel photography? I’ve create two resources to help you get started! Check out my brand new Phone Travel Photography book (available in print AND as an ebook) or try my travel photography course (this is included when you join my newsletter as a paid subscriber or you can purchase through the link below).


An Intro to Light in Travel Photography
Unlike photographers that plan their shots around the light, when you travel, you often have to deal with the light available. When you can plan to visit the most photographic shots at Golden or Blue Hour, but don’t let the light completely control your travels. Instead, make the most of shooting at different times of day.
Golden Hour
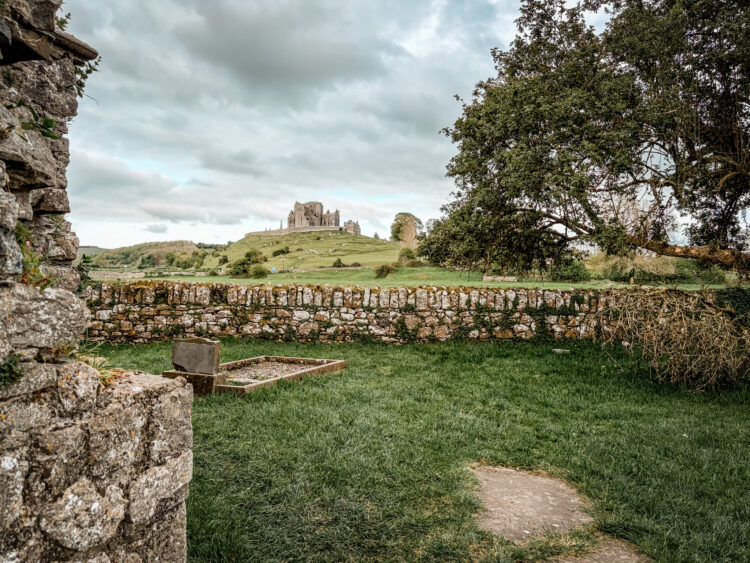
The period shortly after sunrise and just before sunset is called Golden Hour. During this time, the light is warm, soft, and diffused, casting long shadows and creating a magical, almost dreamlike atmosphere. It’s ideal for portraits, landscapes, and anything where you want rich, golden tones in your images. To make the most of Golden Hour, try to shoot when the sun is low on the horizon, and avoid harsh midday light that can create unflattering shadows.

Blue Hour
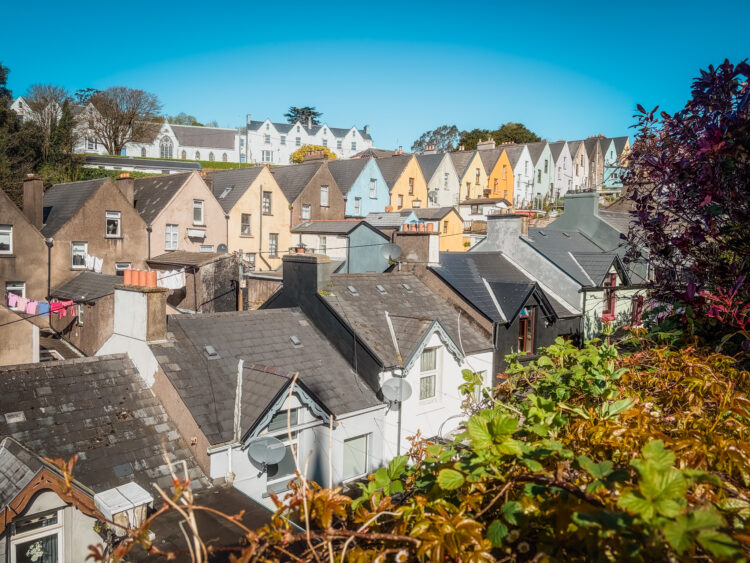
Following Golden Hour, Blue Hour is the time just before sunrise or just after sunset when the sky takes on a deep blue tone. This time is perfect for cityscapes, street photography, or nature shots where you want a cool, calm mood. The light is soft but more muted compared to Golden Hour, so be mindful of your white balance settings to ensure colors are true to life.
Pro Tip: Try to capture the transitions between Golden and Blue Hour for dramatic lighting contrasts and a variety of colors in your shots.
Taking Great Photos in Low Light & Night Mode
Low-light conditions can be tricky, but with the right techniques, you can still capture beautiful, clear images. The iPhone has made great strides in helping users take better photos in low light, especially with the introduction of Night Mode. Even still, most of my travel photos are not taken during low light.
- Using Night Mode: The iPhone’s Night Mode automatically activates when the camera detects low light. This feature allows for longer exposure times, brightening dark scenes while maintaining detail and minimizing noise. For best results, keep your iPhone steady while the camera takes the shot. If you’re shooting in a very dark environment, use a tripod or set your phone on a stable surface to avoid motion blur.
- Manual Control for Low Light: If you’re using a third-party app like Halide or ProCam, you can manually adjust the shutter speed to allow more light into the camera. A slower shutter speed is especially useful when capturing night skies, city lights, or any scene where you want to gather as much light as possible.
Pro Tip: When shooting in low light, make sure your ISO (sensitivity to light) is set to a lower value to avoid noisy, grainy images ( tap the object on your phone then slide up or down to change the ISO).

Overcoming Harsh Midday Sun
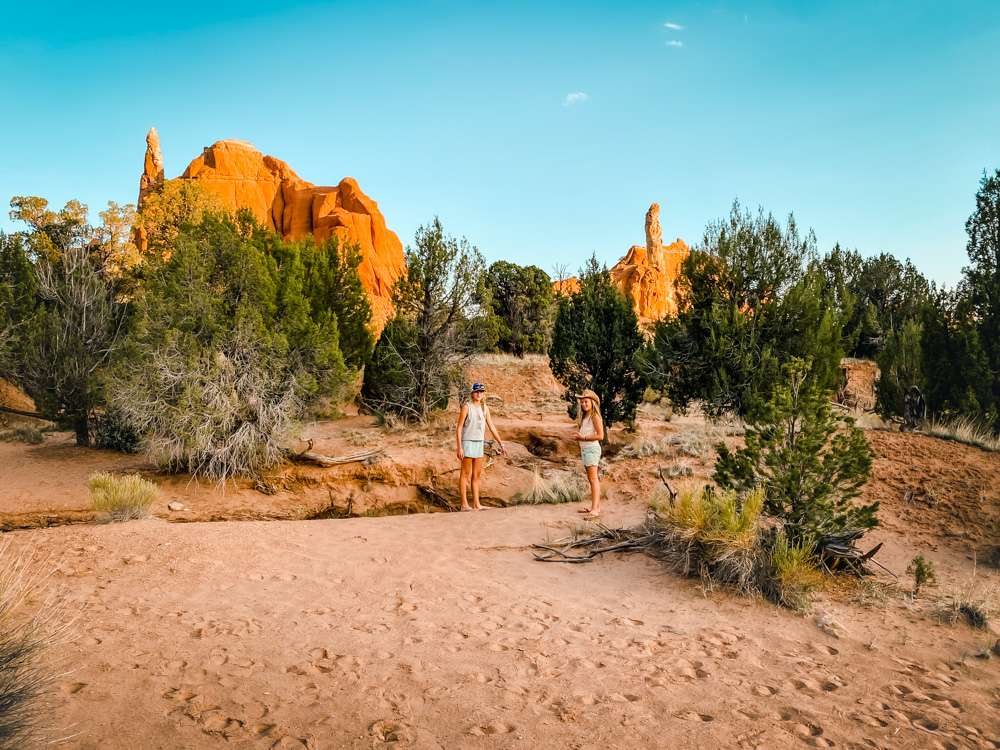
The harsh midday sun can create extreme contrasts, deep shadows, and overly bright highlights, making it challenging to capture a well-balanced image.
Find Shade: One of the simplest ways to deal with midday sun is to find or create shade. This can help reduce harsh lighting and bring more even light to your subject. If you’re photographing people, try positioning them in the shade to avoid squinting and harsh shadows on their faces.
Use the Sun as Backlight: While you want to avoid the sun directly on your subject, using the sun as a backlight can create interesting silhouettes and rim lighting. Position your subject so that the sun is behind them, and use a wider aperture (smaller f-stop) to allow more light to spill onto the subject.
Use a Diffuser or Reflector: If you’re working with a person as your subject, bringing a diffuser to soften the light can greatly improve the quality of your photo. A reflector can bounce light back onto your subject’s face and help reduce shadows, making the image look more balanced. This isn’t very practical when you are taking travel photos but is an option.
Pro Tip: Experiment with your exposure settings when shooting in bright sunlight to prevent overexposure. On the iPhone, tap and hold on your subject to lock the exposure and focus, adjusting the slider to find a balance between the light and dark areas.

Using Shadows & Reflections to Enhance Your Shots
Shadows and reflections are powerful tools that can add depth, dimension, and creativity to your photos. By using natural light creatively, you can turn ordinary scenes into extraordinary ones.
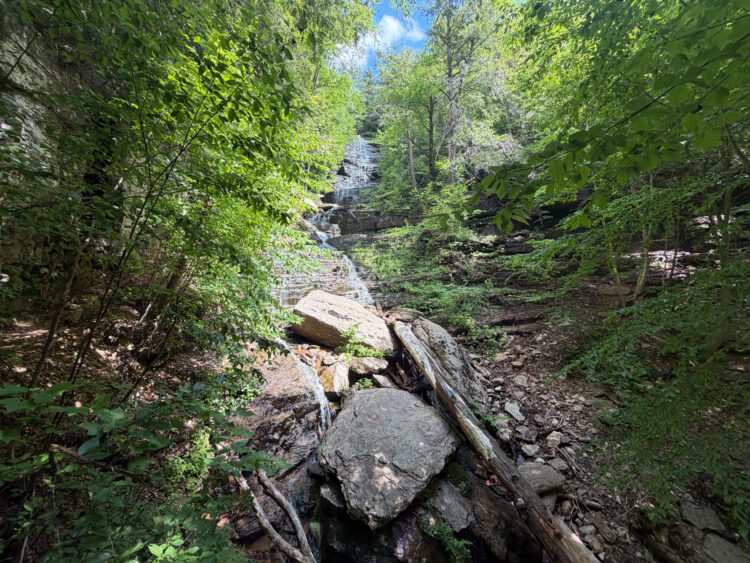
- Shadows: Shadows can help to highlight shapes, textures, and patterns in your photos. Look for scenes where light and shadow interact, such as during Golden Hour when the long shadows create dramatic effects. Shadows can also add mystery or emphasize the shape of your subject. Try shooting through objects, such as leaves, windows, or curtains, to create interesting shadow patterns across your frame. On the other end, avoid taking photos of people with dappled shadows as this is distracting to the eye.
- Reflections: Reflections can double the impact of your photos. They can be found in bodies of water, glass windows, or even puddles on the ground. Use reflections to add symmetry, create visual interest, or lead the viewer’s eye through the scene. Be mindful of the surface you’re shooting on, as a clean, still body of water will give the best reflection.
- Combining Shadows and Reflections: Try using both shadows and reflections in the same shot to create complex compositions. For example, capturing a shadow on a water surface while also getting a reflection can create a surreal, eye-catching image.
Pro Tip: Use the exposure slider on your iPhone to adjust how light or dark the shadows appear in your shot. You can also experiment with how much of a reflection you want to capture by changing your angle.