
Travel photography encompasses everything from sweeping landscapes to portraits. Each of the different types of travel photos requires a unique approach, whether you’re capturing landscapes, candid moments, or the fine details of local architecture. In this chapter, we’ll explore several key types of travel photos and share techniques to help you capture each one at its best.
Looking to improve your travel photography?  You can find lots of articles as well as my travel photo challenge and course where I share exactly how I improved my travel photography to capture more memories.

Learn more about my travel photography courses.
You can see more about Travel Photography in these articles:
- Composition Techniques for Stunning Travel Photos
- Why Your Smart Phone is the Best Travel Camera
- Travel Photography Courses
- How to Take Better Travel Photos
- Exploring Light in Travel Photography
- Editing on Your Phone Like a Pro

Landscape Photography – Capturing Different Types of Travel Photos
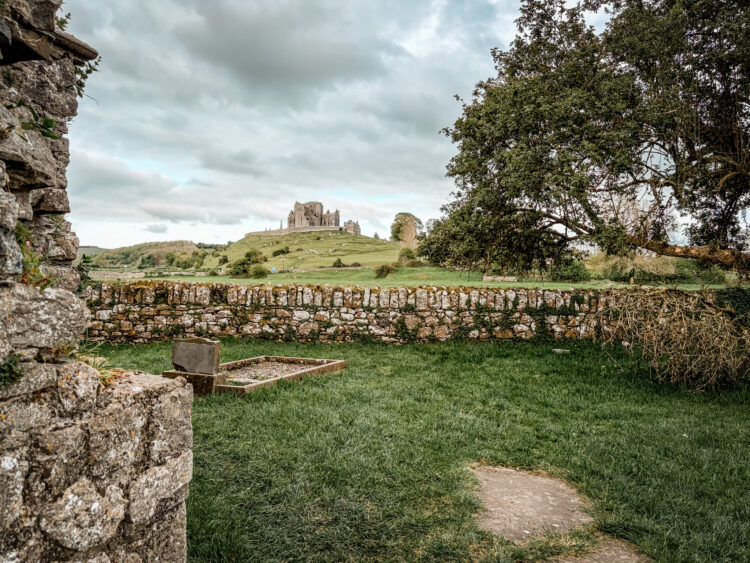
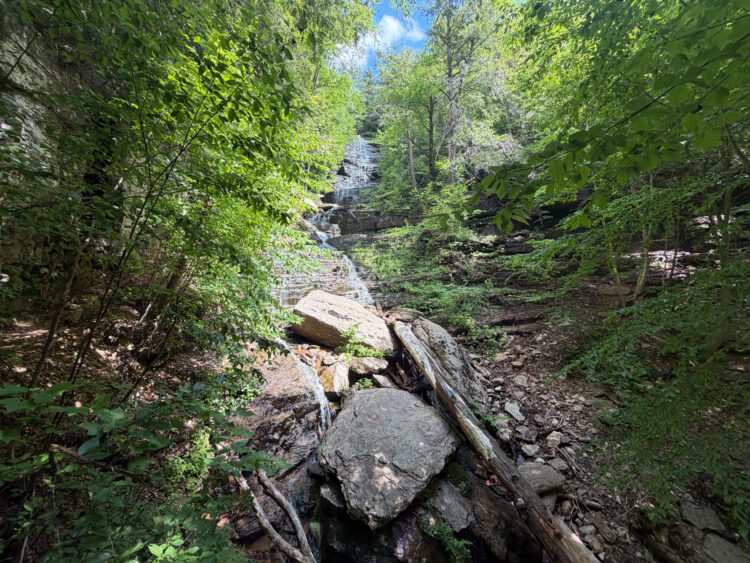
Landscape photography is all about capturing the beauty and scale of natural environments. Whether you’re photographing towering mountains, foggy forests, or vast deserts, the goal is to convey the awe-inspiring wonder of the scene.
- Shoot During Golden Hour: The warm light of Golden Hour (just after sunrise or just before sunset) can turn an average landscape into something magical. The low light casts long shadows and enhances colors, giving the landscape a soft, ethereal glow. If you can make sure to shoot to catch these golden moments.
- Incorporate Leading Lines: Use natural elements like roads, rivers, or paths to lead the viewer’s eye into the frame. Leading lines help give the landscape photo structure and draw attention to key elements, like a mountain peak or a distant horizon.
- Use the Foreground: A strong foreground element, like a tree, rock, or even wildflowers, can anchor the composition and add scale, making the landscape feel more expansive.
- Put a person in the view for perspective. My favorite landscape shots have a person in them. If possible, put the person in bright colored clothes to make them stand out from the background. This provides perspective and depth to the photo.
- Don’t bother taking distant photos of landscapes. I see it all the time – a gorgeous distant view – you pull the car over and take a photo of the mountains very far away, then look at the photo – and delete. This shot always comes out flat and with no perspective. Landscape shots are best taken within the landscape.

Portraits & Candid Moments – Photographing People Naturally
When photographing people, whether they’re locals or fellow travelers, the aim is often to capture their personality and the essence of the moment. Candid photos can tell a story and evoke emotion, while portraits allow you to highlight someone’s unique character. When I am on a trip with my family, I will take about 5 posed photos for every 300 candid photos. And the candid photos are better every time.
One of the most challenging parts of taking photos is getting the people you’re traveling with to pose naturally. When I first started improving my travel photography, I would get my family members to pose in action shots – this never worked and always looked posed. Later in this book we talk a little about posing for photos. Instead of posing your friends and family, instead become aware of what makes a good shot. Often I will ask my kids when we’re hiking to pause so I can get into a good position, and then they simply continue with their walk. No posing just a more natural shot.
You will also want to decide what is the main subject of your photo. Are you shooting a photo to capture the people or are you putting people in to give perspective to the landscape. I do both.
Shots that capture the people should have the people closer to the phone while landscape shots with people will often have the people far away. If the focus is the people, try to simplify the background so the attention is on the people.
It’s Time to Level up Your Travel Photography
Want to improve your travel photography? I’ve create two resources to help you get started! Check out my brand new Phone Travel Photography book (available in print AND as an ebook) or try my travel photography course (this is included when you join my newsletter as a paid subscriber or you can purchase through the link below).


Here are a few general suggestions:
- Capture the Emotion: Candid shots often work best when the subject is unaware of the camera. Focus on capturing genuine emotions like laughter, surprise, or curiosity. Be patient, observing people in natural moments, and be ready to snap when something interesting happens.
- Engage with Your Subject: If you’re shooting portraits, engage with your subject beforehand. Ask them about their story, and try to get them comfortable. Natural expressions are the result of relaxed interactions, so avoid stiff poses and allow the subject to express themselves.
- Mind the Lighting: When shooting portraits, lighting is critical. Soft, diffused light from an overcast sky or during Golden Hour creates flattering skin tones and helps reduce harsh shadows. If you’re shooting in direct sunlight, position your subject in the shade or use a reflector to fill in any shadows.

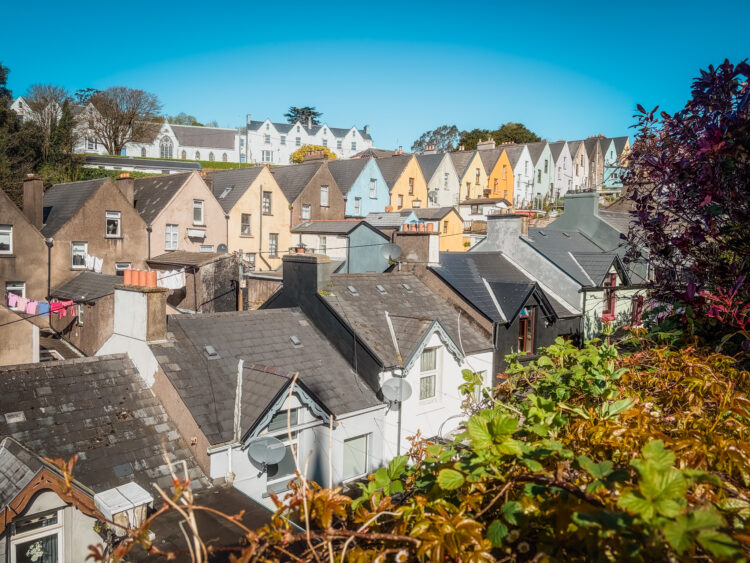
Architecture & Street Photography – Finding Beauty in the Details
Cities around the world are filled with fascinating architecture, from ancient temples to modern skyscrapers. Street photography, on the other hand, focuses on capturing the daily life and rhythms of a place. Both types of photography are about finding beauty in the ordinary.
- Look for Interesting Angles: When shooting architecture, don’t just settle for a straight-on shot. Look for unique perspectives that highlight the lines, curves, and details of the building. Shooting up at a tall building or capturing reflections of architecture in puddles can add drama and interest to your photo.
- Focus on the Details: Architecture is made up of intricate details, like windows, doorways, and textures. Get up close to capture the finer aspects that make each structure unique. In street photography, look for small, unnoticed moments — like the way light reflects off a cobblestone street or a vendor’s hand as they hand over change.
- Capture the Environment: Street photography is as much about the environment as it is about the people. Include elements of the surrounding space, like the hustle and bustle of a market, or a lone figure walking through an empty street, to give your photos context and a sense of place.
- Shoot During the Right Time: Similar to landscape photography, the time of day can drastically affect the mood of architectural shots. Early morning and late afternoon light often create shadows that accentuate the form of a building. Night photography, with buildings lit up against the dark sky, can create stunning contrasts.

Food Photography While Traveling – Making Your Meals Look Mouthwatering
Food photography has become a genre all its own, especially with the rise of food blogs and social media. When you’re traveling, you’ll encounter new and exciting cuisines, and capturing the essence of these meals can transport your viewers to that place.
- Highlight the Textures and Colors: Pay attention to the textures and colors of the food. Make sure the dish looks appetizing by focusing on the way the ingredients are arranged. Try to capture the glossy shine of a sauce, the fresh crunch of vegetables, or the soft, fluffy texture of a dessert.
- Use Natural Light: Natural light is the best for food photography as it brings out the true colors and textures of a dish. Avoid using direct flash, which can create harsh highlights and unappetizing reflections. If you’re indoors, position your food near a window for soft, diffused light.
- Composition Is Key: The composition of your food shots matters. Consider using a top-down shot, especially for dishes that are spread out on a table or plate. Alternatively, try a side view to show layers in a dish, like a sandwich or cake. Don’t forget to include a few props, like cutlery, napkins, or a beverage, to complete the scene and give context to the food.
- Close-Ups Are Powerful: Sometimes, a close-up of a single dish or ingredient can be more effective than a wider shot. Focus on details like the texture of a fresh pasta or the crust of a well-baked bread to create an intimate and appealing shot.

Action & Adventure Shots – How to Freeze Motion & Tell a Story
Travel often involves exciting activities like hiking, surfing, biking, or exploring. Action shots capture the thrill and energy of these experiences, making them some of the most dynamic and engaging photos in your portfolio.
Freeze Motion with a Fast Shutter Speed: To capture a sharp, clear action shot, use a fast shutter speed. The iPhone’s camera app has settings that allow you to adjust exposure or use apps that give you even more manual control.
Panning for Dynamic Shots: If you want to convey speed and motion, try the technique of panning. This involves following the subject with your camera while shooting at a slower shutter speed. The result is a sharp subject with a blurred background, giving the image a sense of movement and energy.
Capture the Anticipation & Emotion: Action shots aren’t just about the physical movement; they should also tell a story. Focus on the emotion and anticipation that lead up to the action. Whether it’s the moment before a leap or the thrill of a cyclist crossing the finish line, these moments add drama and narrative to your shots.
Use Burst Mode: Action shots are often fast-paced, and using burst mode allows you to take a series of photos in quick succession. This increases your chances of getting the perfect shot, especially when photographing unpredictable moments.
Pro Tip: Anticipate the moment before it happens. By understanding the rhythm of the action or the environment you’re shooting in, you can position yourself to capture the best possible shot at the right time.

How to Take Macro Shots
Macro photography allows you to capture the fine details of small subjects, such as the texture of a leaf, the delicate petals of a flower, or the intricate design of an insect. Here’s how to do it:
- Look for something small and detailed. Flowers, insects, or even textured objects like a fabric or leaf make excellent subjects. Focus on textures, colors, and patterns that stand out.
- Adjust Focus: Tap your phone screen to focus on the part of the subject you want to highlight. This could be the center of a flower or the wing of an insect. The focus should be sharp to bring out the smallest details. This is best done with good natural light.
- Frame Your Shot:
Fill the frame with interesting elements, focusing on patterns, colors, or textures that will catch the viewer’s eye. You can use techniques like the Rule of Thirds to create a balanced composition.
You can do this either in photo or portrait mode depending on how far away you are from the object.
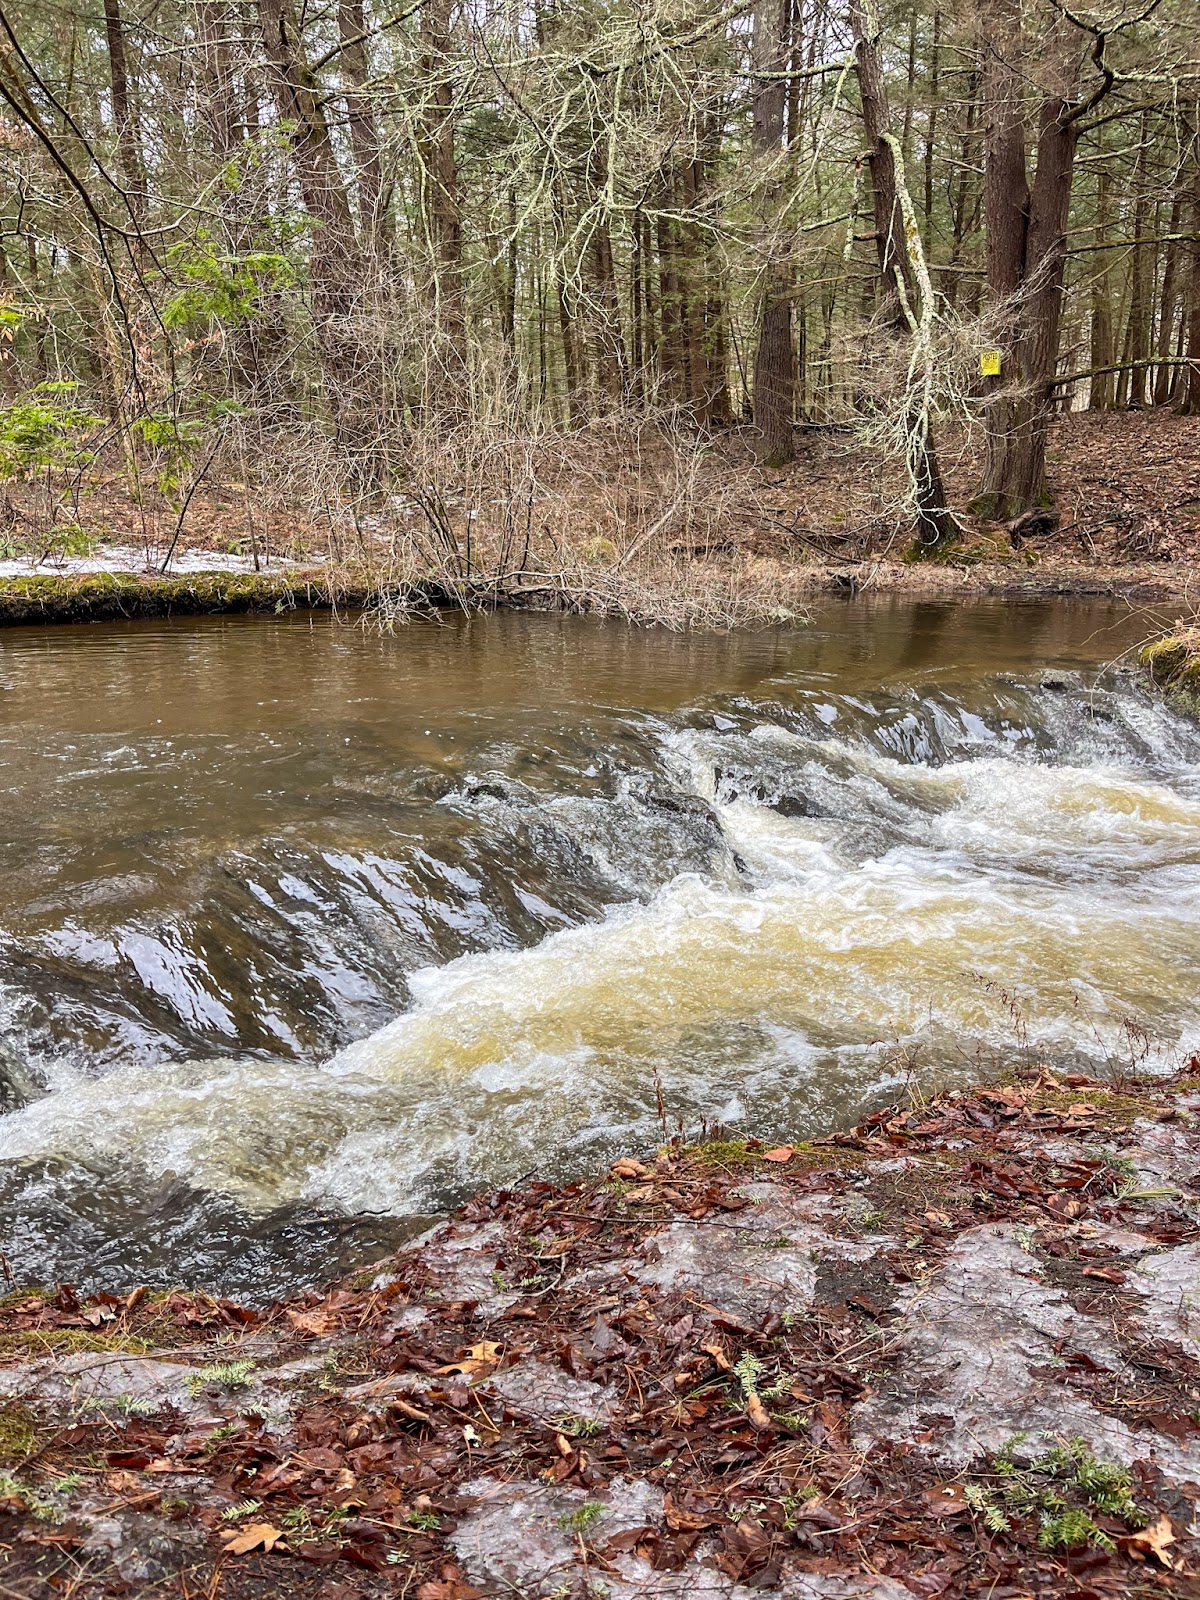
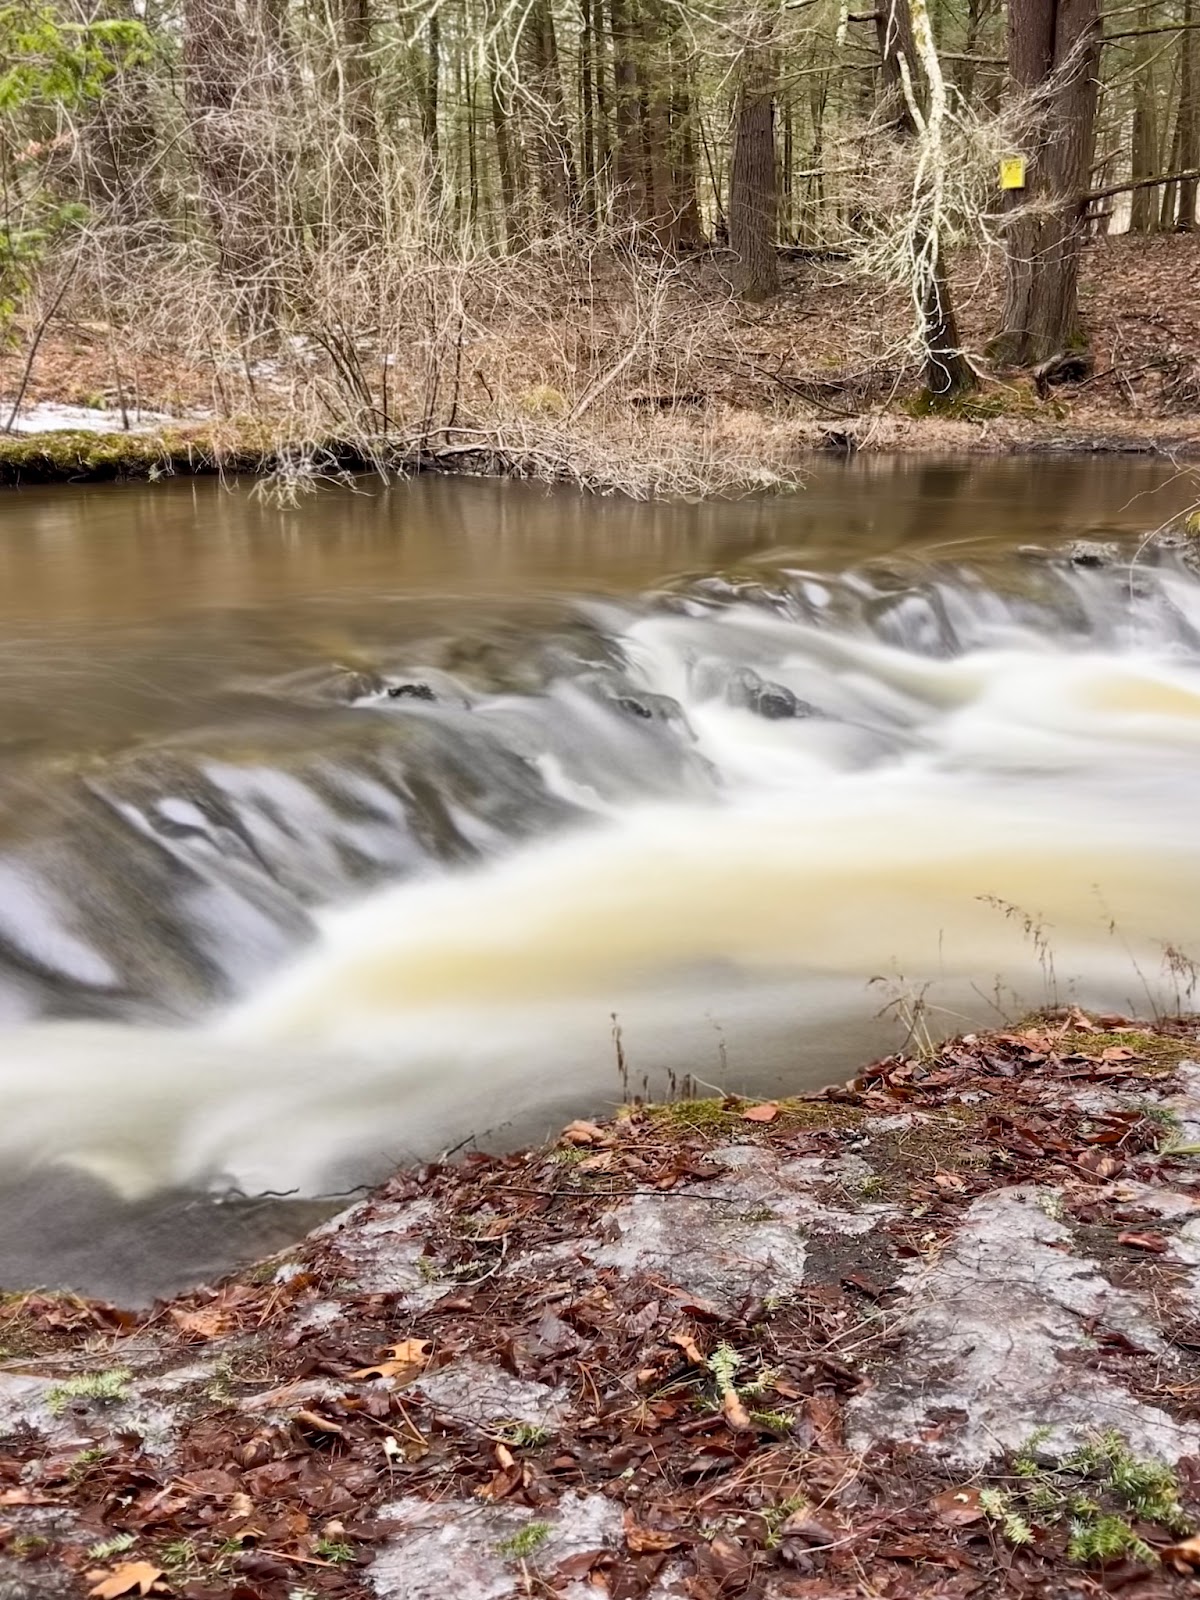
Taking Long Exposure Shots
You can actually take long exposure photos right on your phone. This is wonderful for flowing water. Choose a place with dynamic movement—like flowing water, moving cars, or clouds. A nighttime scene can be especially effective, as light trails and other movements are more visible in low light.
Stabilize Your Phone: Use a tripod or set your phone on a stable surface to avoid camera shake. Since long exposure shots take several seconds to capture, any movement will blur the image.
Select Long Exposure Mode: Many smartphones offer a long exposure mode. Adjust the shutter speed settings for a longer exposure (1-2 seconds or more) to allow motion to be captured in the shot and take your photo. You should pay attention to the light in the photo as longer exposure will be brighter.
Long Exposure with Live Photos
Another Phone trick for Long Exposure Shots is to use the the Live Photo Setting.
To create a long exposure:
- Take a Live Photo – Open the Camera app, enable Live Photo, and snap your shot.
- Apply Long Exposure – Open the photo in the Photo app and select Long Exposure. This is in different places on different phones: sometimes you will swipe up or look in the drop down menu at the top.