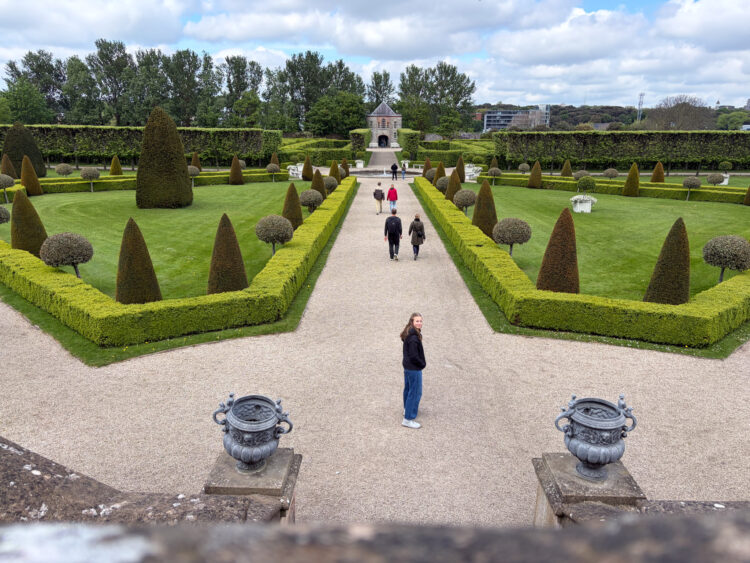

After you’ve captured your photos it’s time to edit them. You do not need to edit your photos and the iphone does a tremendous job of taking photos and creating a photo you can simply use. If you do want to edit your photos, you can adjust the photo to appear closer to how they look in real life or add effects to make a one of a kind shot.
Your Phone is a powerful tool for editing photos. In this chapter, we’ll dive into the best editing apps, essential adjustments, and how to enhance your photos without making them look overly processed.
You can see more about Travel Photography in these articles:
- Composition Techniques for Stunning Travel Photos
- Why Your Smart Phone is the Best Travel Camera
- Travel Photography Courses
- How to Take Better Travel Photos
- Exploring Light in Travel Photography
Our National Parks are full of epic hikes, sweeping vistas, and amazing ecosystems.  If you like our parks, you'll love our National Parks Newsletter or you can explore exactly how we plan a National Parks Trip.

Visiting all 63 National Parks?  Join the Club.
It’s Time to Level up Your Travel Photography
Want to improve your travel photography? I’ve create two resources to help you get started! Check out my brand new Phone Travel Photography book (available in print AND as an ebook) or try my travel photography course (this is included when you join my newsletter as a paid subscriber or you can purchase through the link below).


Editing Right in the Photo App
Your iPhone’s Photos app offers powerful, easy-to-use editing tools for quick adjustments. Before you download another app, I recommend getting good at editing in the photo app. Here’s how to make the most of them:
Getting Started
- Open the Photos app and select a photo.
- Tap Edit in the top-right corner to access the tools.
Key Editing Tools
- Auto-Enhance: Tap the magic wand icon for automatic adjustments to exposure, contrast, and color.
- Exposure & Brightness: Adjust light levels to brighten or darken your image.
- Saturation & Vibrance: Enhance colors subtly or intensify them with the saturation slider.
- Cropping & Straightening: Crop unwanted parts and straighten tilted shots for better composition.
- Filters: Apply built-in filters like Vivid or Mono for instant style boosts. I find these filter somewhat limiting but a good place to start.
Why Use the Photos App?
- Fast and Convenient – Edit on the go without extra apps.
- Non-Destructive – Revert to the original photo anytime.
- Easy Sharing – Share your edits instantly.
Best Editing Apps: Lightroom, Snapseed, VSCO
While the default Photos app on your iPhone offers basic editing tools (and these tools continue to get better), using third-party apps can take your images to the next level. Here are three of the most powerful apps for mobile photo editing:
- Lightroom Mobile – A favorite among professional photographers, Lightroom gives you complete control over exposure, color grading, and detailed adjustments. It also offers powerful presets for one-click edits. This is the app I use for editing my photos.
- Snapseed – This free app from Google provides a wide range of tools, including selective adjustments, healing tools for removing distractions, and advanced tonal contrast.
- VSCO – Known for its elegant and film-like filters, VSCO is perfect for those who want to create a cohesive aesthetic with minimal effort.
All 3 apps (and the phone’s native photo app) work similarly. Here are some general editing guidelines. The best way to become a better photo editor is to practice.

Enhancing Colors & Adjusting Exposure
Editing should bring out the best in your image while keeping it natural. Here’s how to fine-tune the most important aspects of your photo:
- Exposure & Brightness – Adjust the overall brightness of your image. If your photo is too dark, increasing exposure can bring out hidden details. If it’s overexposed, lowering highlights can recover lost details.
- Contrast – Increasing contrast makes colors pop and adds depth, while decreasing contrast creates a softer, muted look.
- Saturation & Vibrance – Saturation boosts all colors, while vibrance enhances only the duller colors. Be careful not to overdo it—natural tones look best.
- White Balance – Adjusting the temperature and tint can correct color casts and set the right mood for your image. A warm tone (yellow) gives a sunset glow, while a cooler tone (blue) works well for icy landscapes.
Cropping & Straightening for Better Composition
A well-composed image can be ruined by poor alignment or unnecessary distractions. Use cropping and straightening tools to refine your photo:
- Straighten Horizons – A crooked horizon is a common issue. Use the rotate or straighten tool to align your image properly.
- Rule of Thirds – Many apps provide grid overlays to help you follow the rule of thirds. Position key subjects along the intersecting lines for a balanced composition. If you didn’t use the rule of thirds when you took the photo, try using it in the editing stage.
- Remove Distractions – Crop out unnecessary elements that don’t add to your story. This keeps the viewer’s focus on the main subject.
Using Presets & Filters Without Overdoing It
Filters and presets can quickly enhance your photos, but it’s easy to go overboard. Follow these tips for a balanced approach:
- Start with a Light Touch – Apply a preset or filter at a lower intensity, then adjust individual settings like exposure and color to fine-tune the effect.
- Create a Consistent Style – If you’re editing multiple photos for social media or a portfolio, use the same set of presets or filters to maintain a cohesive look.
- Manual Adjustments are Key – Even when using a preset, tweak brightness, contrast, and saturation to make sure the image looks natural and well-balanced.